

You can write the best content in your industry, hire the sharpest copywriter in the country, and still sit on page four while a worse site quietly eats your customers.
The writing isn’t the problem. Google just can’t crawl the page cleanly, read it, or trust it — and good copy can’t paper over a cracked foundation.
That’s technical SEO: everything that helps a search engine find, crawl, understand and index your site, before a single word of your content gets a chance to matter.
And New Zealand sites are especially guilty here. For the decade I’ve been doing SEO, I’ve lost count of the Kiwi websites I’ve run through a crawler only to watch them come back looking like a car with the check-engine, ABS and oil lights all glowing at once — a list of errors nobody’s ever opened, quietly capping the rankings.
This is the exact checklist I work through, in order. Each step is a job to get done. Under each one are the specific checks that get it done.
Let’s start where every real audit starts.
1. Run a Full Technical Audit First
Before you fix a single thing, crawl the whole site — because you can’t fix what you can’t see.
A crawler walks your site the way Googlebot does, following every link and logging every problem it hits: broken pages, redirect chains, missing titles, orphaned pages, the lot. Ten minutes of crawling hands you the entire problem list in one go, so you spend your time fixing by priority instead of guessing what’s wrong.
Skip this and you’re doing surgery blind. I’ve watched people spend a fortnight “improving SEO” by tweaking things that were already fine, while three redirect chains and a blocked directory sat there strangling the whole site.
Crawl the whole site
Run the site through a dedicated crawler. Screaming Frog is the one I reach for first — the desktop version crawls up to 500 URLs free, which covers most small NZ business sites in a single pass.
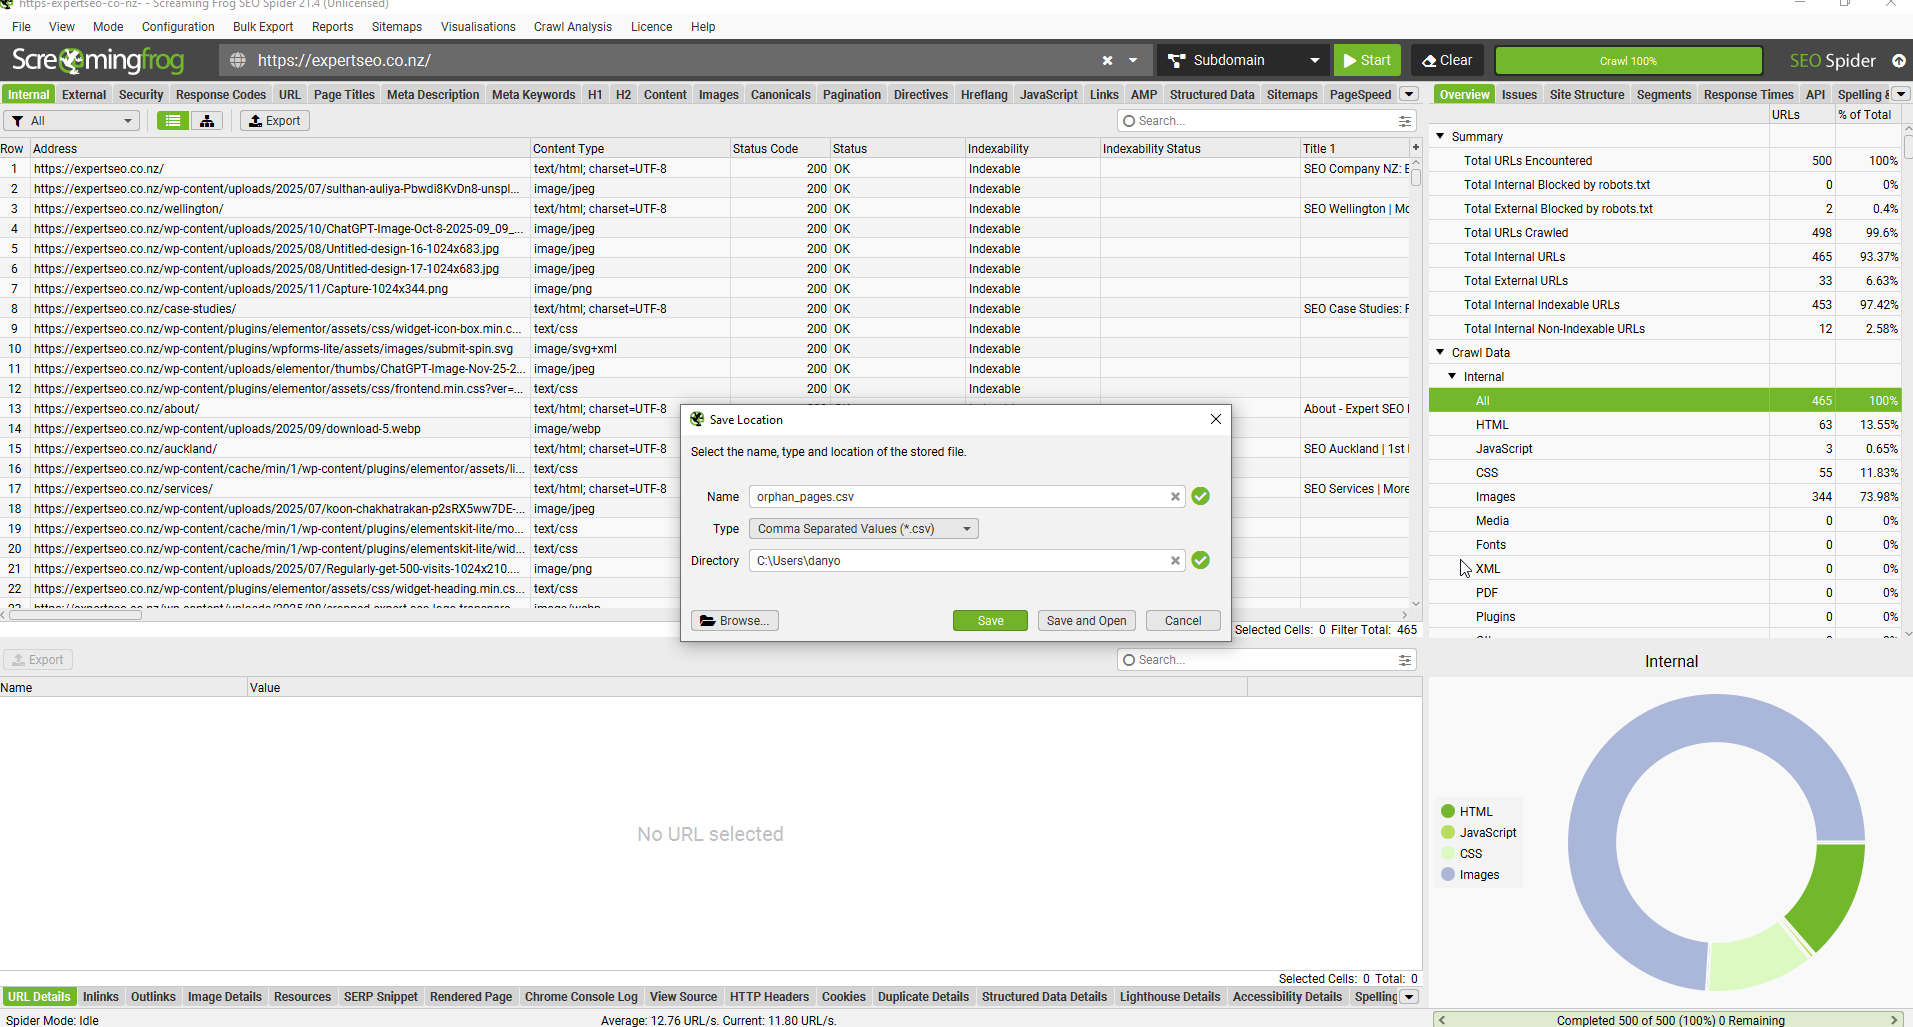
For bigger sites or a scored health report, Semrush’s Site Audit or Ahrefs’ Site Audit do the same job in the cloud and grade the site out of 100.
Read the health score, then sort errors from warnings
Don’t panic at the number. A crawl always looks scary the first time — a fresh audit throwing 300 “issues” usually means 280 harmless notices and 20 that actually matter. Sort the list into errors (things actively breaking), warnings (things worth a look), and notices (mostly ignorable), and work top-down.
Fix by impact, not by count
A single page blocked from indexing outweighs fifty pages with a slightly-too-long meta description. Chase the issues that stop Google crawling or indexing first; cosmetic stuff waits.
Here’s a real one. I ran an Auckland retailer’s site through Screaming Frog expecting a tidy result — the site looked fine from the front. The crawl came back with 40-odd redirect chains, a batch of internal links pointing at dead 404s, and a whole product category accidentally blocked in robots.txt. None of it was visible on the surface. All of it was holding the site down. Getting found in Auckland is competitive enough without handing your rivals a free head start like that.

A crawl is the difference between a plan and a guess. Run it first, every time.
2. Fix Your Crawling and Indexing Issues
If Google can’t crawl or index a page, nothing else on this list matters — the page simply won’t rank at all.
Crawling is Google finding your page. Indexing is Google storing it so it can show up in results. A page can be crawled and still never get indexed, and a page blocked from crawling never gets seen in the first place. This is the plumbing behind everything, so it’s the first thing to get right after the audit.
Check what’s actually indexed
Type site:yourdomain.co.nz into Google. That rough count is how many of your pages Google is holding. If you’ve got 80 pages live and Google shows 12, you’ve got an indexing problem. For the real picture, open Google Search Console, go to the Pages report (under Indexing), and read the “Not indexed” reasons — Google tells you exactly why each page didn’t make it.
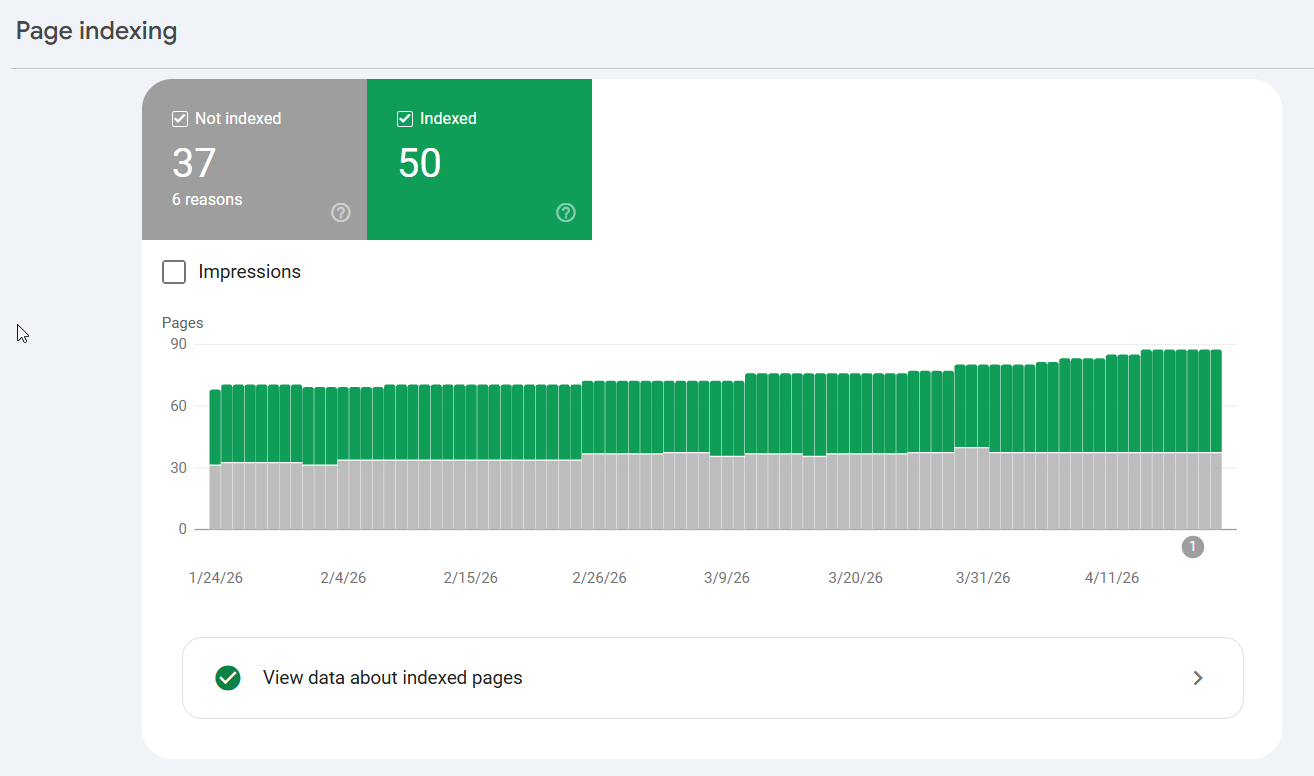
Handle “crawled — currently not indexed”
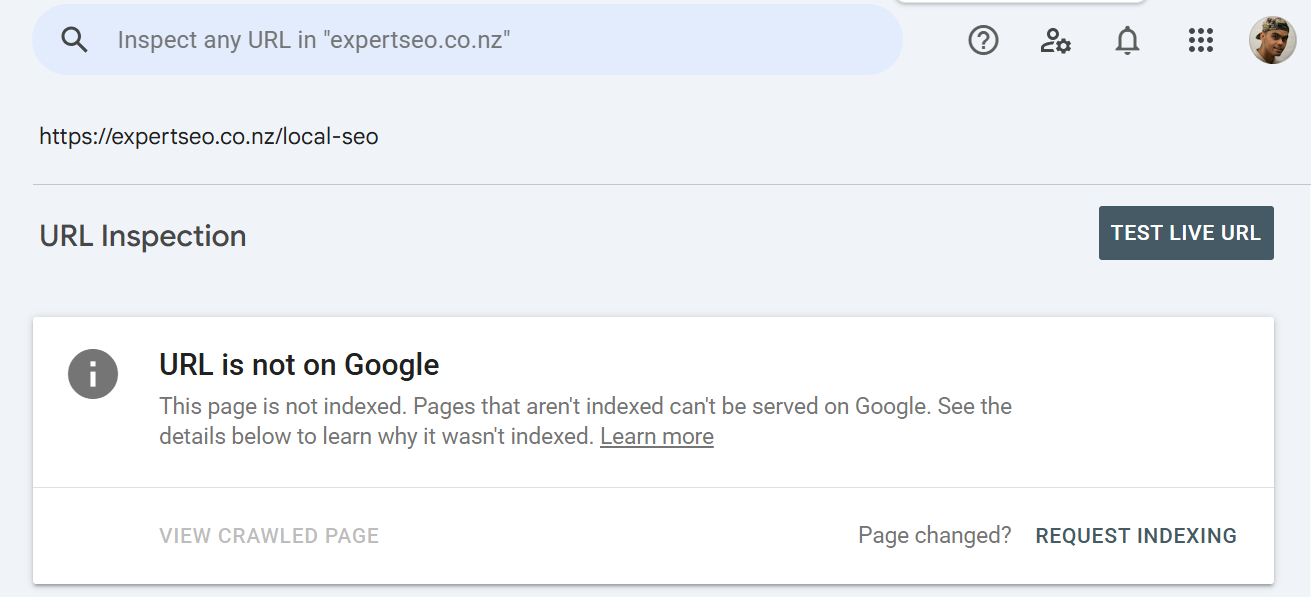
This is the one that trips up NZ business owners the most. It means Google looked at the page, decided it wasn’t worth storing, and moved on — usually a signal the page is thin, duplicated, or low-value. The fix is rarely technical: beef the page up, merge it with a stronger one, or cut it. Drop the URL into the URL Inspection tool to check its exact status and request indexing once you’ve improved it.
Check your robots.txt isn’t blocking the wrong things
Your robots.txt file (sitting at yourdomain.co.nz/robots.txt) tells crawlers where they can and can’t go. One stray Disallow: line can wall off an entire section — I’ve seen a whole blog blocked by a single leftover rule from a site migration. Open the file, read it, and make sure nothing important is behind a disallow.
Submit an XML sitemap
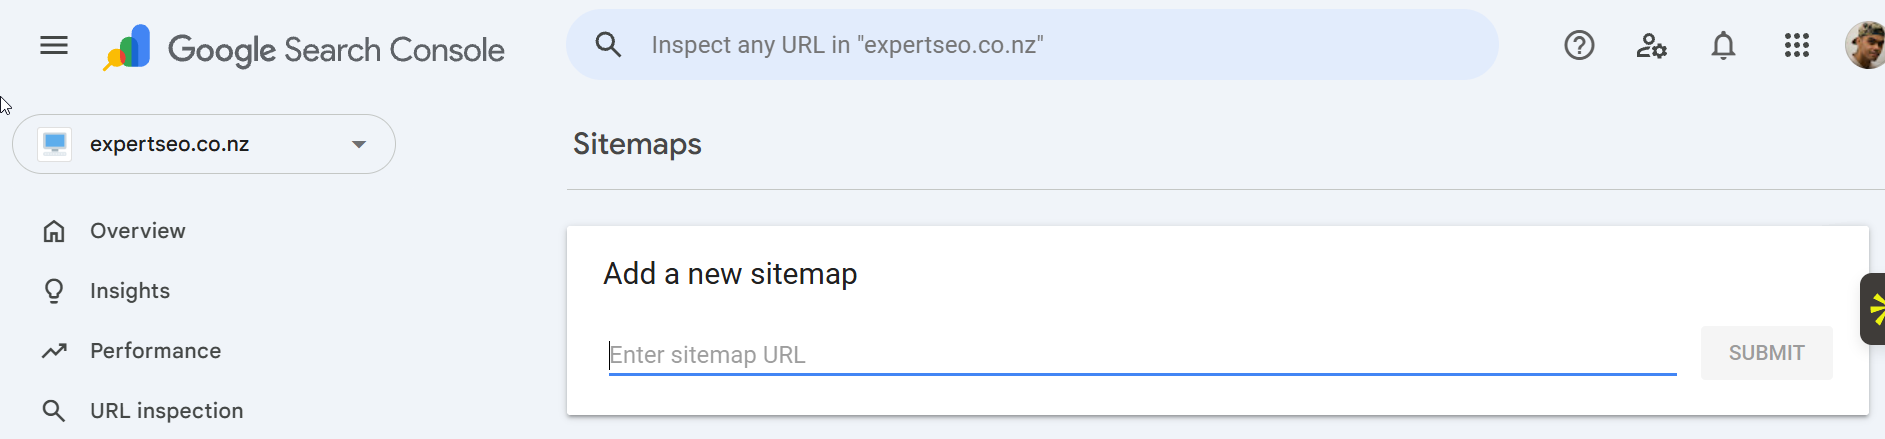
A sitemap is a list of every page you want indexed, handed straight to Google. Most WordPress setups generate one automatically (Rank Math and Yoast both do). Find yours at yourdomain.co.nz/sitemap.xml, then submit it in Search Console under Sitemaps. It’s a two-minute job that helps Google discover pages faster.
Fix crawl errors
In Search Console, hunt down 404s (dead pages) and 5xx errors (server failures). A handful of 404s won’t sink you, but a pile of them — especially ones you’re still linking to internally — wastes Google’s crawl budget on dead ends instead of your good pages.
Get this layer clean and everything downstream has a fighting chance. Leave it broken and the rest is wasted effort.
3. Speed Up Your Site and Pass Core Web Vitals
A slow site loses visitors before they read a word, and Google knows it — speed is both a ranking factor and a revenue leak.
People are brutally impatient online. Google’s own research found that as a mobile page’s load time climbs from one second to ten, the probability of the visitor bouncing jumps by 123% — and that most mobile pages take over five seconds just to show what’s above the fold. Every second you shave is customers you keep.
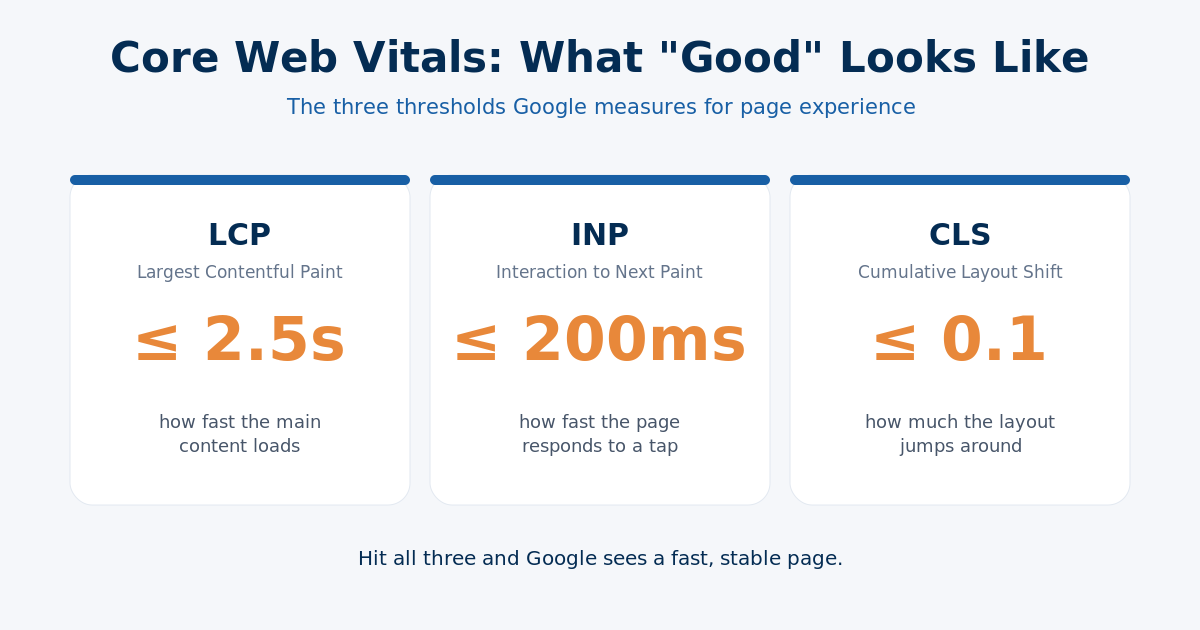
Google measures this through three metrics called Core Web Vitals. You want all three in the green:
- LCP (Largest Contentful Paint) — how fast the main content loads. Good is under 2.5 seconds.
- INP (Interaction to Next Paint) — how fast the page responds when someone taps or clicks. Good is under 200 milliseconds. (INP replaced the old First Input Delay metric in March 2024, so any guide still talking about FID is out of date.)
- CLS (Cumulative Layout Shift) — how much the page jumps around while loading. Good is under 0.1.
Test it properly
Run your page through PageSpeed Insights (free, at pagespeed.web.dev). Read the field data at the top — that’s real Chrome users, the numbers Google actually grades you on — not just the lab score underneath. Mobile and desktop are scored separately, and mobile is almost always the weaker one, so start there.

Fix the three vitals
- Slow LCP? Compress your images (a hero photo shipped as a giant PNG is the usual culprit — save it as a WebP or a sensible JPEG), and check your hosting isn’t dragging server response time.
- Poor INP? Cut heavy JavaScript. Every extra plugin and tracking script adds weight that blocks the page from responding.
- Wobbly CLS? Set explicit width and height on your images and ad slots so nothing shoves the content around as it loads.
Picture a Queenstown adventure-tourism operator — the whole site is stunning full-bleed photos of jet boats and bungy jumps, and it loads like a slug on a phone. Their entire audience is tourists searching on mobile, on patchy data, deciding right then which operator to book. A four-second load isn’t a technical footnote there; it’s the booking going to the competitor whose page opened first. In a market like Queenstown, speed is money.
Fast doesn’t just help rankings — it stops you bleeding the visitors your rankings earned.
4. Make Your Site Mobile-Friendly
Google ranks the mobile version of your site, full stop — so if it’s broken on a phone, you’re broken in search.
Since July 2024 Google crawls and indexes every site with its smartphone crawler — mobile-first indexing is now the universal default. The mobile version of your website is the version Google reads and ranks. Google has said outright that if a site’s content isn’t accessible on mobile, it may not be indexed at all.
Check it renders on mobile
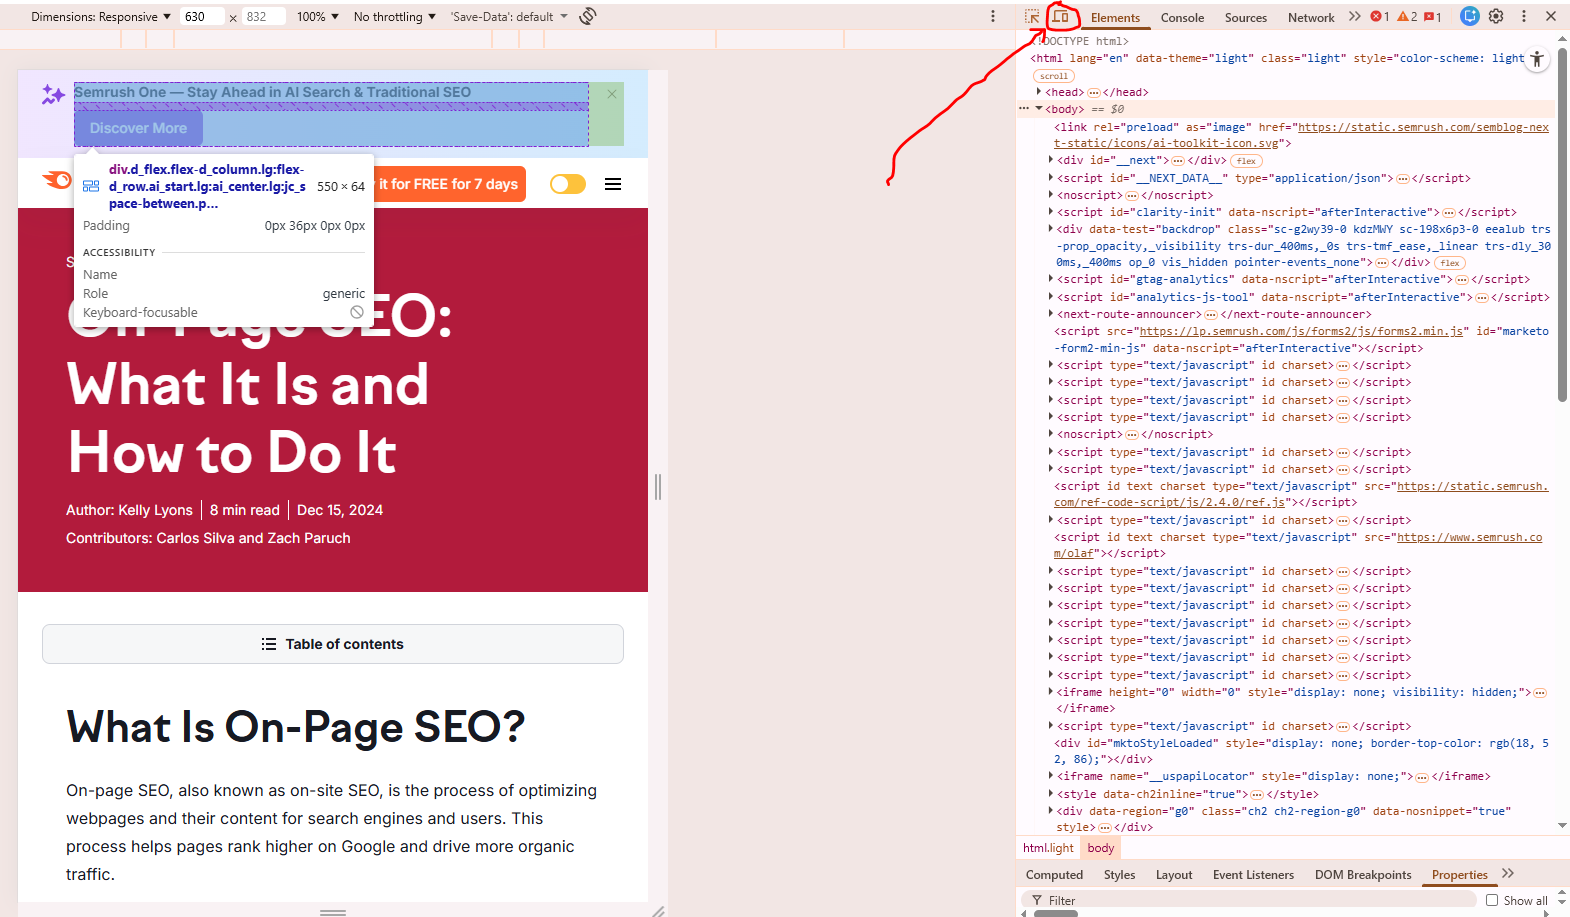
Pull your site up on an actual phone, or use Chrome’s device toolbar (right-click → Inspect → toggle the device icon). Is the text readable without pinching? Do images fit the screen? Is anything cut off or overlapping? If your site was built responsive (most modern WordPress themes are), you’re usually fine — but check, don’t assume.
Fix your touch targets
Buttons and links need room to breathe. On desktop a cramped menu is fine with a mouse; on a phone, fat-fingering the wrong link is where you lose people. Give tappable elements space so a thumb can hit them cleanly.
Test mobile speed separately
Mobile speed is its own battle — slower networks, weaker hardware. Run the mobile PageSpeed test on its own and treat that score as the one that counts.
Think about a Tauranga builder. His customers aren’t researching from a desk — they’re standing on a half-finished deck, phone in one hand, googling “builder near me” to get a second quote. If his site loads slow or renders like a mess on that phone, he’s lost the lead before his homepage even appears. For a tradie getting found in Tauranga, the mobile site isn’t the second version of the website. It’s the only one that matters.
Build for the phone first, because that’s the only site Google’s actually looking at.
5. Sort Out Your Site Architecture and Internal Links
A clean, shallow structure helps Google and your customers find every page that matters — bury a page and you might as well not have it.
Site architecture is how your pages connect. Get it right and every important page is a few clicks from the homepage, clearly linked, easy for a crawler to reach. Get it wrong and your best pages sit stranded five clicks deep where neither Google nor a customer will ever dig.
Keep it shallow
Aim to have every page that matters within about three clicks of your homepage. The deeper a page sits, the less often Google crawls it and the less authority flows to it. Your money pages especially should be close to the top.
Use clean, readable URLs
A URL should tell a human what the page is before they click. yourdomain.co.nz/services/roof-repairs beats yourdomain.co.nz/?p=1372 every time — for Google and for the person deciding whether to tap. Use real words, include the keyword, drop the auto-generated ID junk WordPress hands out by default.
Add internal links and fix broken ones
Internal links are how authority moves around your site and how Google understands which pages relate. Link relevant pages to each other naturally, and while you’re in there, fix any internal links pointing at dead pages (your Step 1 crawl already found these).
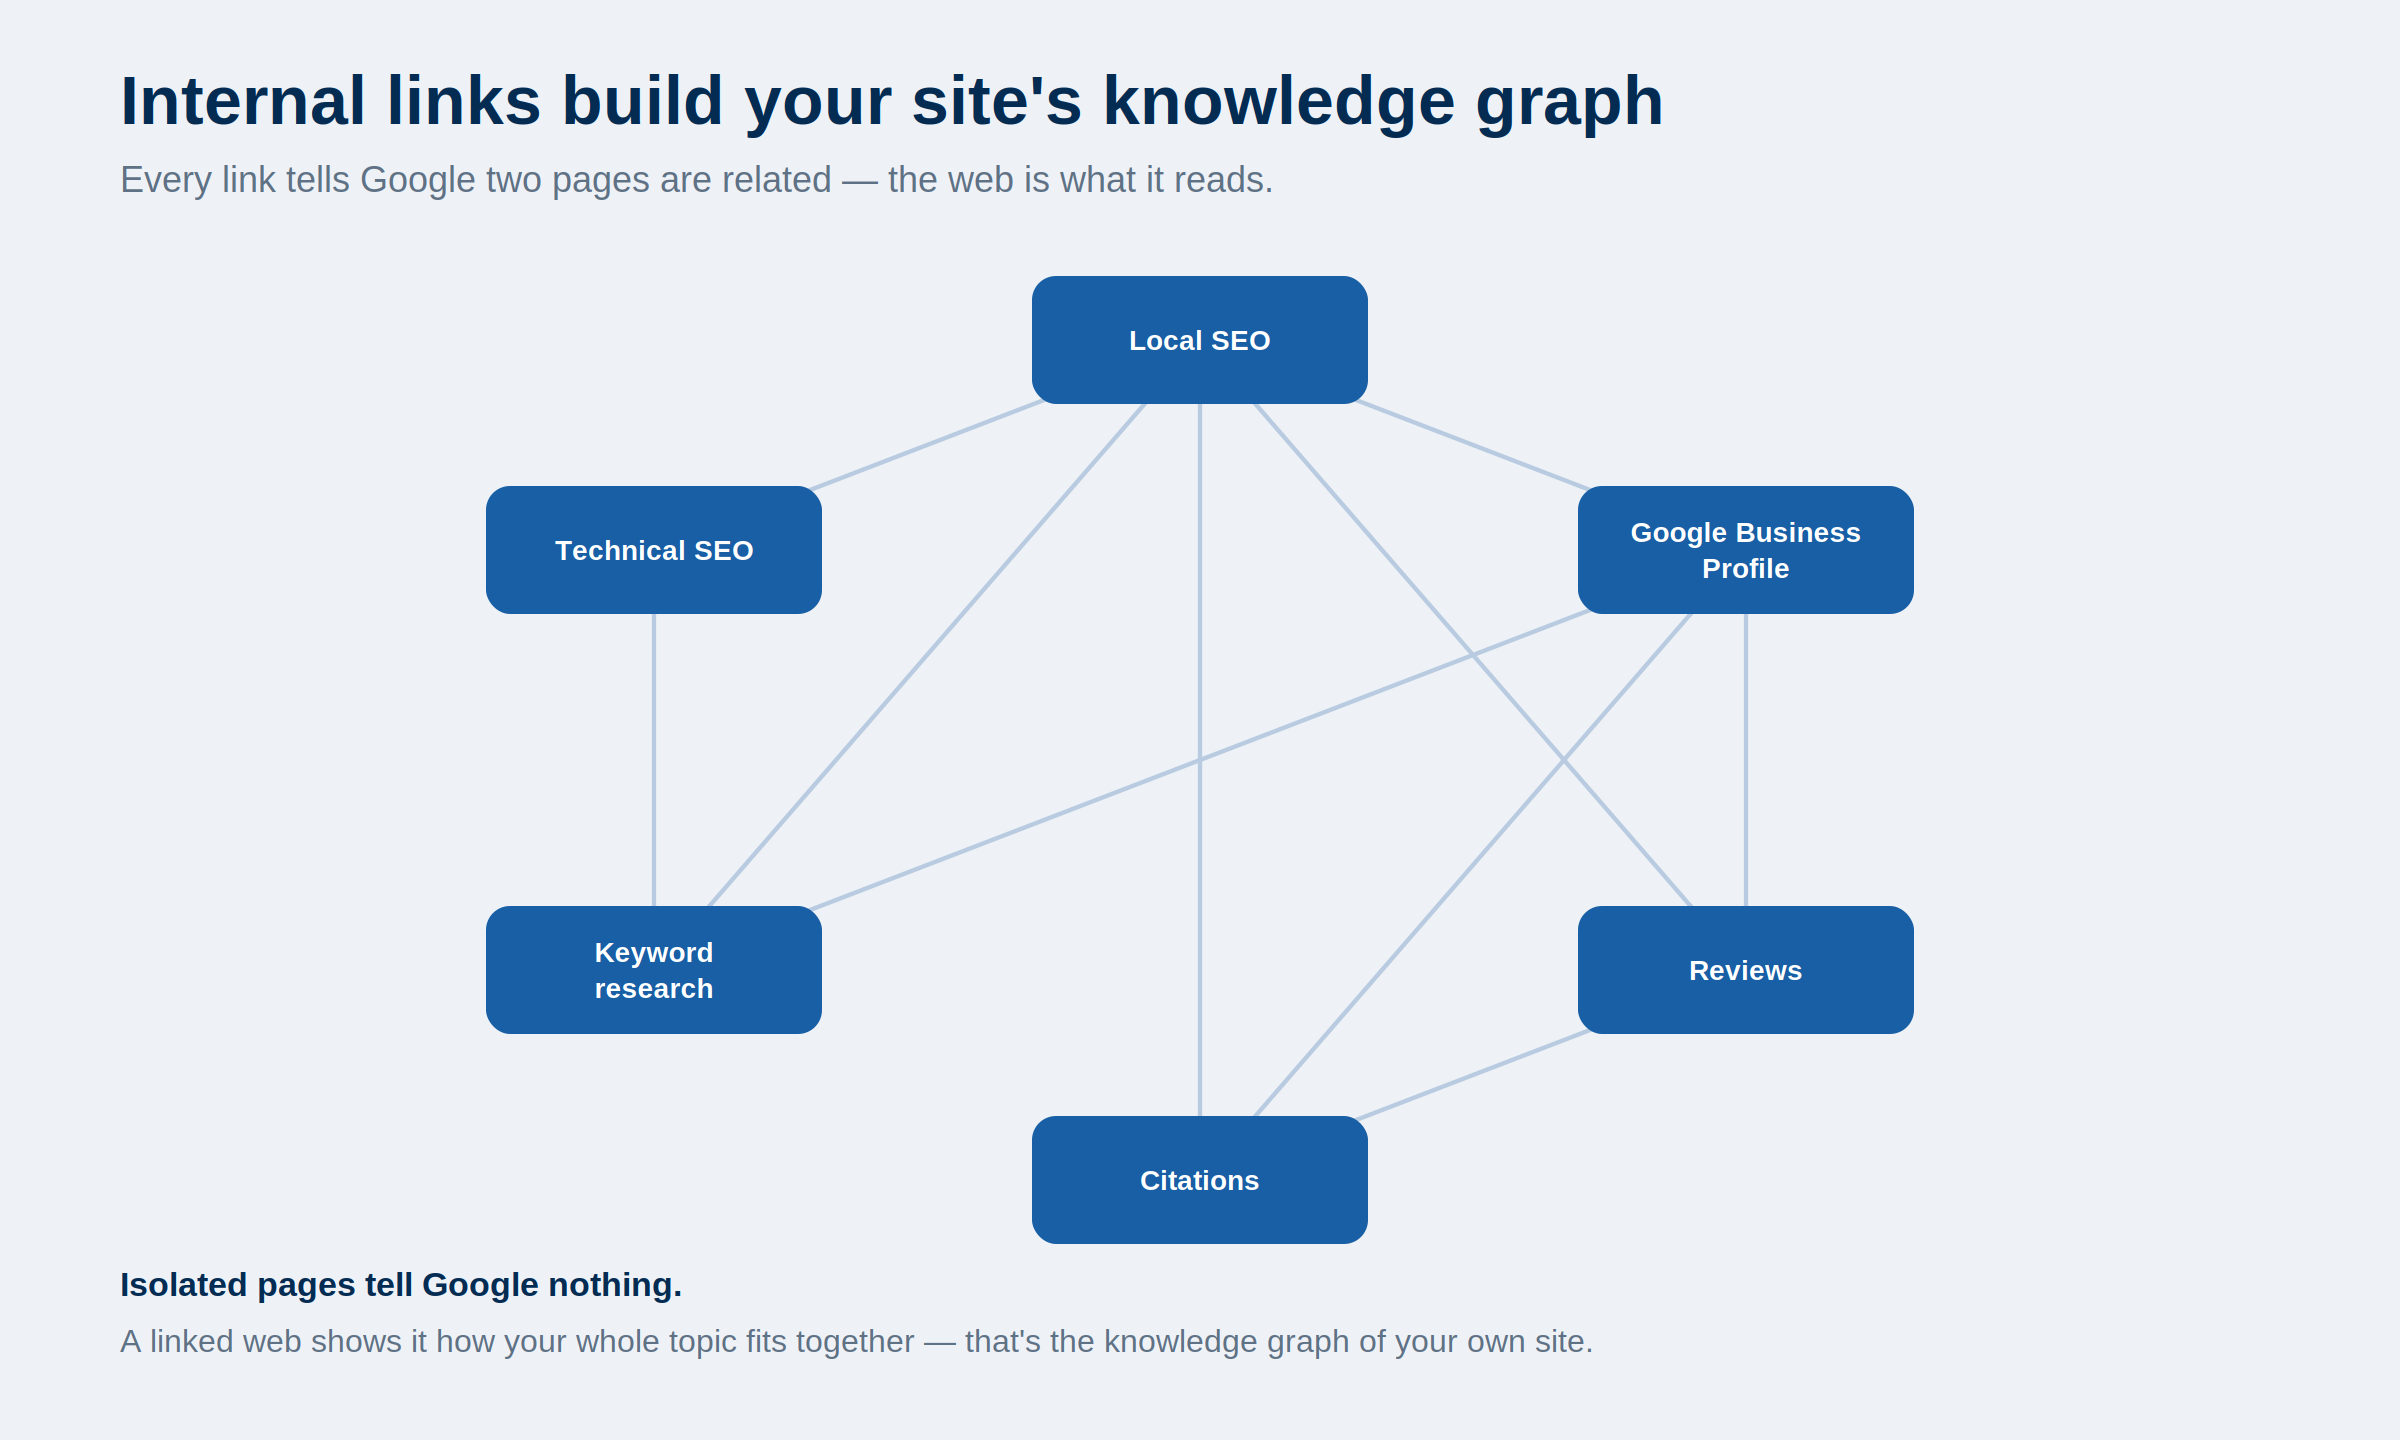
Take a Wellington accounting firm I looked at. Their most profitable service page — the one people actually search for — was buried four clicks down, linked from almost nowhere, sitting on a URL full of numbers. Meanwhile their “meet the team” page was one click off the homepage and linked everywhere. They’d told Google, loud and clear, that the team bios mattered more than the service that pays the bills. Structure is you telling Google what’s important; make sure you’re pointing at the right thing.
A logical structure is quiet, invisible work — and it’s often the difference between a page that ranks and a page nobody ever finds.
6. Secure Your Site and Kill Duplicate Versions
Run one secure version of your site and point everything else at it — anything less splits your authority and confuses Google.
Two jobs live here, and both are quick wins most sites get half-right.
Lock in HTTPS
HTTPS (the padlock in the address bar) has been a confirmed Google ranking signal for years, and browsers now actively warn visitors away from sites without it. Check your SSL certificate is installed and valid — most NZ hosts include one free, and if yours doesn’t, that’s a reason to switch hosts, not a reason to skip it.
Pick one version and redirect the rest
Here’s the sneaky one. Your site can technically load at four different addresses: http://, https://, www. and non-www.. If more than one of them actually opens, Google may see them as separate sites and split your authority across the copies — like pouring one jug of water into four glasses and wondering why none of them are full.
Type each version into your browser. They should all snap to a single one. If they don’t, set a 301 redirect (permanent redirect) so every variation forwards to your one preferred version — usually the https:// one.
Use canonical tags for duplicates
Where you genuinely have similar pages (common on ecommerce sites with filtered product URLs), a canonical tag tells Google which version is the “real” one to index. Rank Math and Yoast handle this for you on most WordPress setups.
One secure home, everything else pointing at it. Clean, consolidated, done.
7. Add Structured Data (Schema Markup)
Structured data spells out exactly what your content is, so Google understands you faster and can reward you with richer results.
Schema markup is a bit of code that labels your content in a language search engines read perfectly — “this is a business,” “this is an FAQ,” “these are the opening hours.” It doesn’t change what your visitors see, but it hands Google a cheat sheet, and it’s how you earn those enhanced results (star ratings, FAQs, business info) that stand out in the SERP.
Add the right types
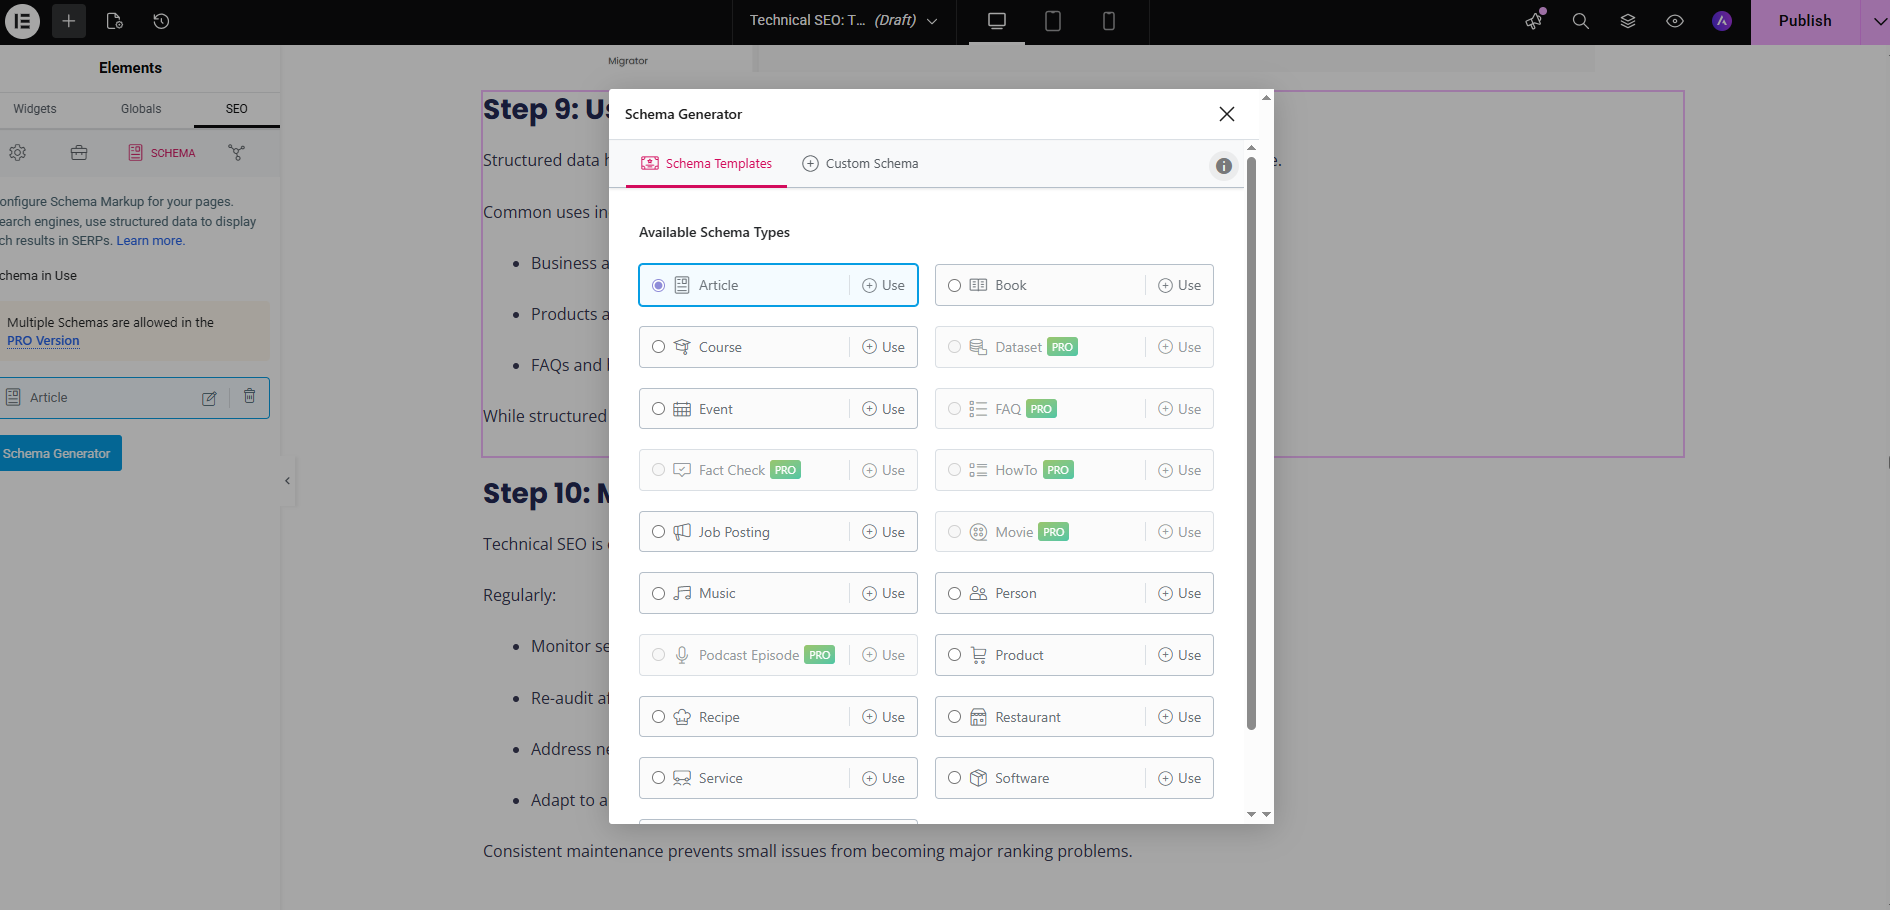
Match the schema to the page. A blog post gets Article schema. A page with common questions gets FAQ schema. A products page gets Product schema. On WordPress, Rank Math adds Article schema automatically and lets you add the others without touching code.
Use LocalBusiness schema if you’re a local NZ business
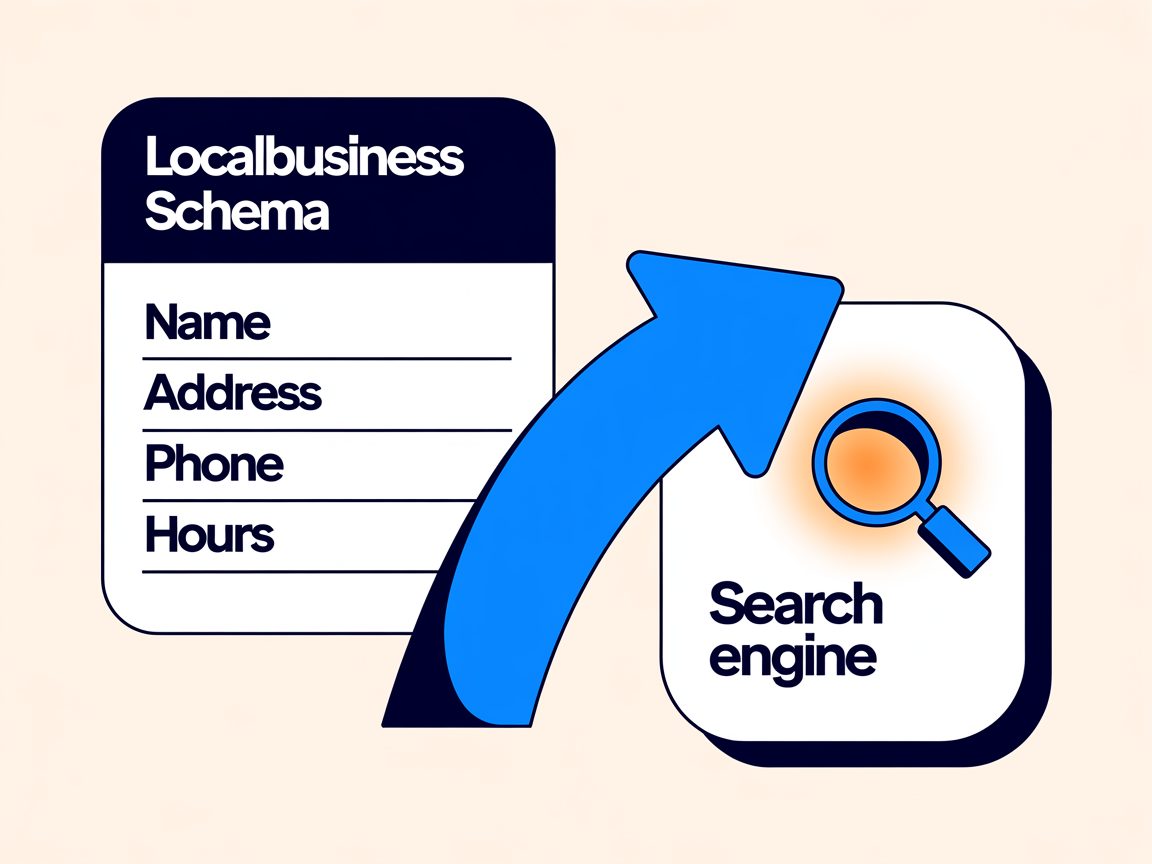
This is the one nearly every international guide skips, and it’s the one that matters most for Kiwi businesses. LocalBusiness schema tells Google your exact name, address, phone number, opening hours and the areas you serve — the details that feed local rankings and the map pack. If you’re a business serving a specific city or region, this is close to mandatory and almost nobody bothers.
Validate it
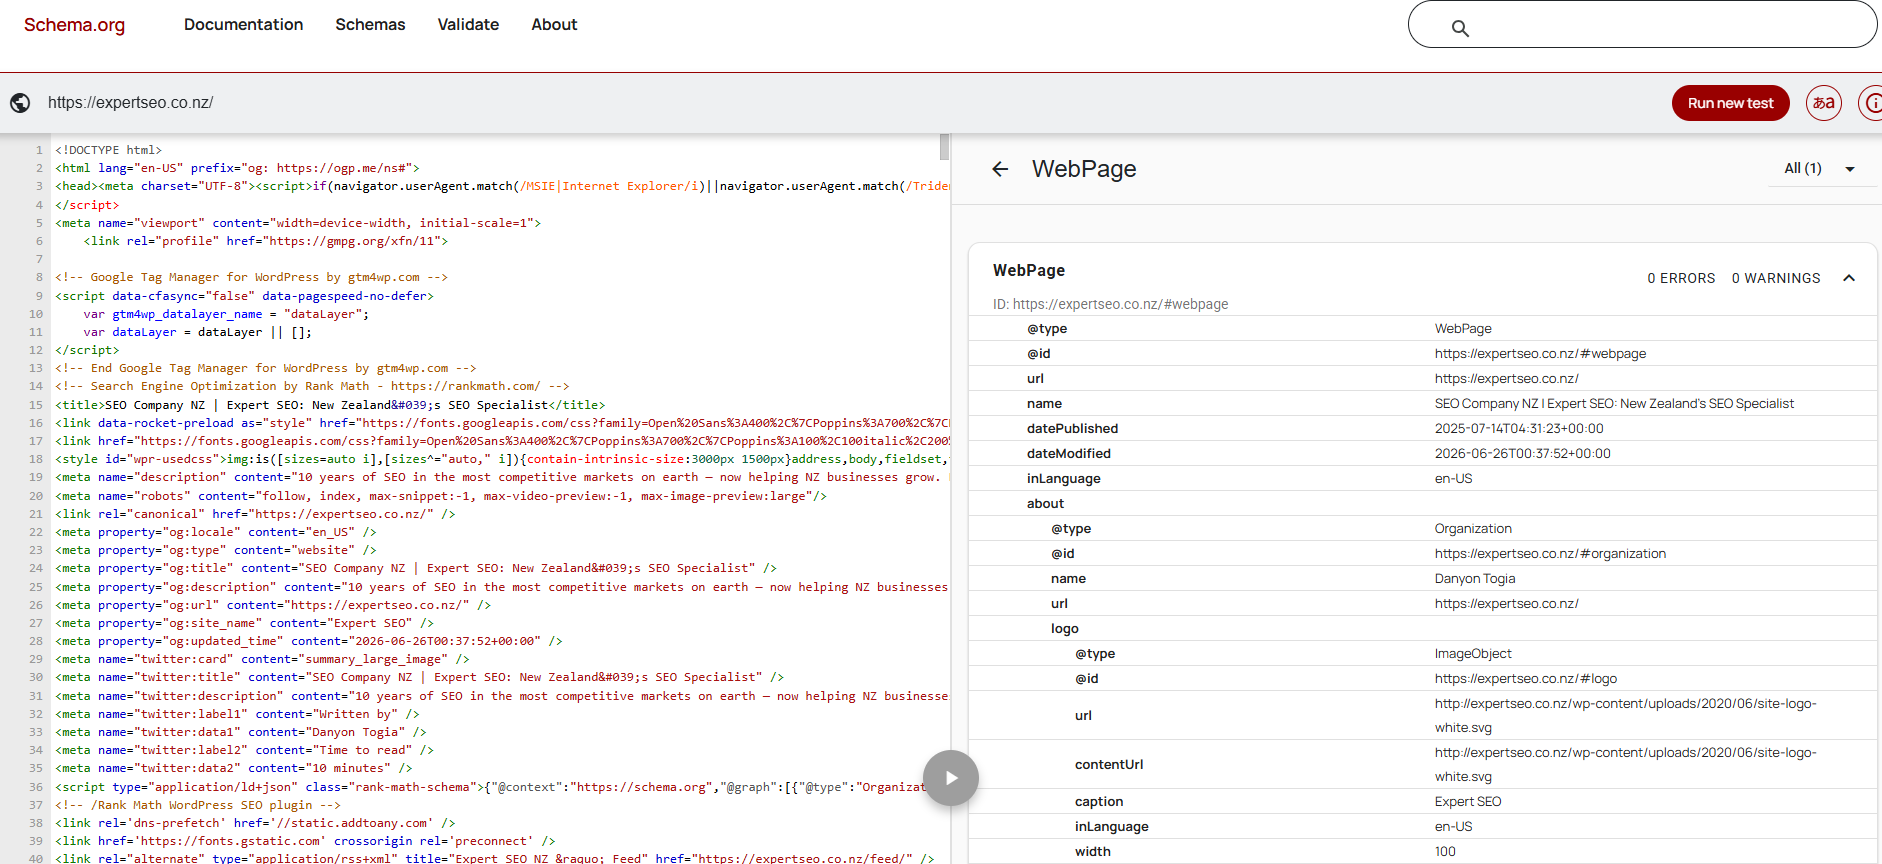
Once it’s on, run the page through Google’s Rich Results Test (free, at search.google.com/test/rich-results) or the Schema.org Validator. It confirms the schema is valid and shows you which rich results the page is eligible for.
Picture a Christchurch dental practice adding LocalBusiness schema for the first time — suddenly Google has their address, hours and service area handed over in plain code instead of guessing at it from the page. For a business fighting to rank in Christchurch, that clarity is a genuine edge, and it costs nothing but ten minutes with a plugin.
Schema is you doing Google’s homework for it. Google tends to reward the students who do that.
8. Make Sure AI Can Read Your Site
The same technical foundations now decide whether ChatGPT, Claude and Perplexity can use your site too — block their crawlers and you vanish from AI answers no matter how well you rank on Google.
Your website has a second audience now. Alongside Googlebot, a new wave of crawlers from AI platforms are reading the web to build their answers — and being cited in an AI response is fast becoming as valuable as ranking in the blue links. The good news: the work you’ve already done on this checklist is 90% of the job. Clean crawling, fast pages, clear structure — AI systems want the exact same things Google does.
There’s just one extra check.
Let the AI crawlers in
Go back to your robots.txt file. The AI crawlers have their own names — GPTBot (OpenAI), ClaudeBot (Anthropic), PerplexityBot, Google-Extended — and some sites, sometimes by accident during a build, have them blocked. Unless you have a deliberate reason to keep AI platforms out, make sure none of these are sitting behind a Disallow: line. Blocking them means you’re invisible the moment someone asks ChatGPT or Google’s AI a question your page could’ve answered.
Keep your HTML clean
AI systems extract meaning from your page’s structure — clear headings, direct answers, sensible HTML. A page that’s a tangled mess of nested divs and JavaScript is hard for them to read cleanly. The tidy structure you built in Step 5 pays off twice here.
My own site earning citations in AI search inside its first year is the proof this works — and it works precisely because the technical base was sound from day one. This is the same discipline as AI SEO generally: get found by the machines that are increasingly answering for your customers.

Get the foundations right and you’re not just ready for Google. You’re ready for whatever’s answering the question next.
Final Thoughts
Here’s the truth after running this checklist on hundreds of NZ sites: every single one has technical issues. Not most. All of them. New sites, old sites, sites built by agencies, sites built by nephews — something on this list always turns something up.
That’s not the scary part. The scary part would be if these issues were hard to fix. They’re not. Every one of the eight steps above has a clear tool that finds the problem and a clear fix that solves it — a crawler, Search Console, PageSpeed Insights, a schema plugin. None of it needs a computer science degree.
Work through the checklist in order, fix the foundation first, and give your content the clean base it needs to actually rank.
Technical SEO Checklist: FAQ
What is a technical SEO checklist?
A technical SEO checklist is a step-by-step list of the crawling, indexing, speed, structure and code checks that make sure Google (and AI crawlers) can find, read and rank your site. It's the plumbing behind everything — crawlability, sitemaps, HTTPS, mobile rendering, schema — that has to be right before content and links can do their job.
How often should I run a technical SEO audit?
Run a full crawl at least once a quarter, and immediately after any big change — a redesign, a platform migration, or a batch of new pages going live. Most technical issues creep in quietly during exactly those kinds of changes, so that's when to check first.
What's the difference between technical SEO and on-page SEO?
Technical SEO decides whether Google can crawl, index and render your site at all. On-page SEO is what you do to the content and HTML once it's already being read — titles, headings, keyword placement. You can nail on-page SEO perfectly and still not rank if the technical foundation underneath it is broken.
Can I work through this checklist myself, or do I need a developer?
Most of it — running a crawler, checking robots.txt, submitting a sitemap, reading PageSpeed Insights, adding schema through a plugin — you can do yourself with free tools and zero code. It's worth bringing in help for redirects at scale, server configuration, or a site that's been broken for years and needs untangling properly.
What's the single biggest technical SEO mistake NZ businesses make?
Blocking Google by accident — a leftover Disallow: rule in robots.txt from an old site build, or a whole category of pages left noindexed after a migration. It's invisible on the surface, it's the first thing Step 1 of this checklist catches, and it's the difference between a site that ranks and one that simply can't.
Recommended Reading
 Page Speed
How fast your site actually needs to be — and the exact point where more speed stops helping rankings.
 Mobile SEO
Why mobile SEO isn't a separate discipline — it's the only version of your site Google actually judges.
 Schema Markup
Which schema types still earn results in 2026, and which ones quietly stopped working.